How to Choose Hard Jaws and Soft Jaws, and How to Properly Adjust
Soft jaws are versatile and can be machined to fit specific workpieces, ensuring precise gripping and reducing the risk of damage, making them ideal for delicate or unique tasks. Hard jaws, on the other hand, are pre-hardened, durable, and suitable for repetitive or high-torque operations, providing strong and consistent clamping. Soft jaws excel in flexibility and customization, while hard jaws prioritize longevity and efficiency for standard applications. Both are essential depending on the machining requirements.
1. Hard Jaws
Hard jaws are commonly used in lathes for clamping round bars, rough blanks, etc. They provide a secure grip and are heat-treated to achieve a Rockwell hardness of 48 or higher. Hard jaws typically have three stepped surfaces and can be installed in either orientation. They are relatively durable, making them suitable for rough machining.
2. Soft Jaws
Soft jaws are not heat-treated and are softer. Their purpose is to adapt to the size of the workpiece, allowing for a close grip on surfaces that are nearly circular. They are generally used for holding precision-turned workpieces, maintaining the required coaxiality. Soft jaws can conform closely to the surface of the workpiece, ensuring better torque transmission while minimizing the risk of damaging the workpiece. Therefore, properly adjusting soft jaws is crucial for improving workpiece accuracy.
3. How to Properly Adjust Jaws
Clean the Chuck and Jaws: Thoroughly clean the surfaces of the chuck and jaws with a cleaner and cloth to remove oil and dust. This ensures that subsequent jaw adjustments can be performed more effectively.
Adjust Jaw Position: Use a wrench to loosen the bolts on the chuck and move the jaws to the desired position. Use a caliper to measure and ensure that each jaw is accurately positioned.
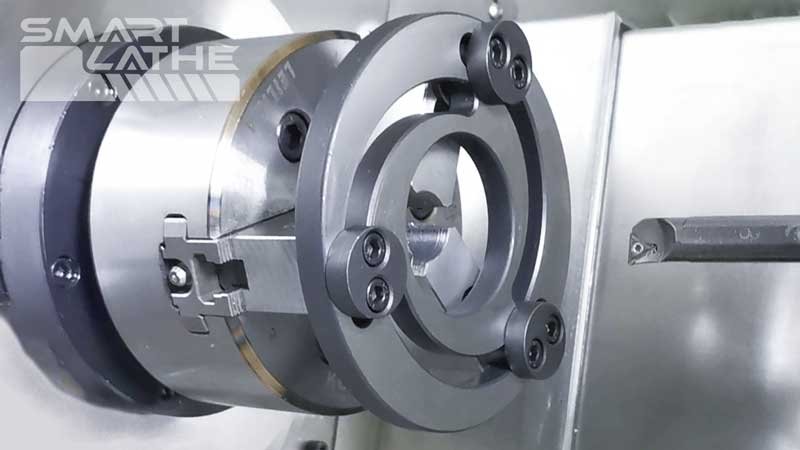
Installing a jaw boring ring on the chuck and clamp. The jaw boring ring can reduces the chatter during boring.
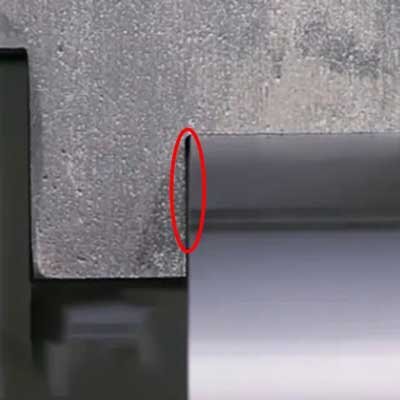
Machining the Jaws: Use an internal boring tool to slowly machine the jaws to the required gripping size, and create a relief groove in the jaws for a tighter fit with the workpiece.
Testing the Fit: After machining, test the fit with the workpiece and use feeler gauges to determine if the jaws have been adjusted correctly.
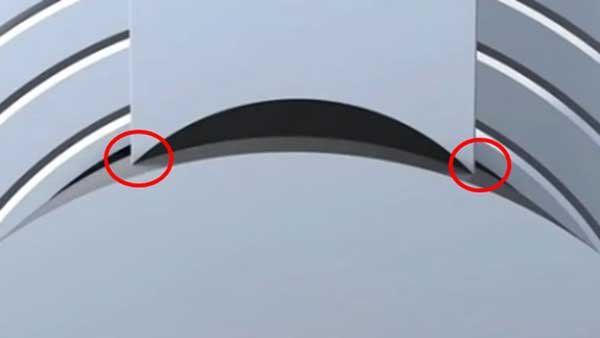
The diameter of the chuck jaws boring is not equal to the diameter of the workpiece, it could damage the workpiece surface.


